How to Back Up Your Important Files Before Something Goes Wrong
A beginner-friendly guide to backing up photos, documents, and work files using simple local and cloud backup habits.
Backups are one of those things people ignore until a phone breaks, a laptop dies, or a file disappears. The good news: you do not need a complicated system to protect your important files.
This guide shows a simple beginner-friendly backup setup you can start using today.
What should you back up?
Start with files that would be painful or impossible to replace:
- Family photos and videos
- Work documents
- School files
- ID scans and important PDFs
- Business records
- Project files
- Password manager recovery codes
You do not need to back up every temporary download. Focus on what matters.
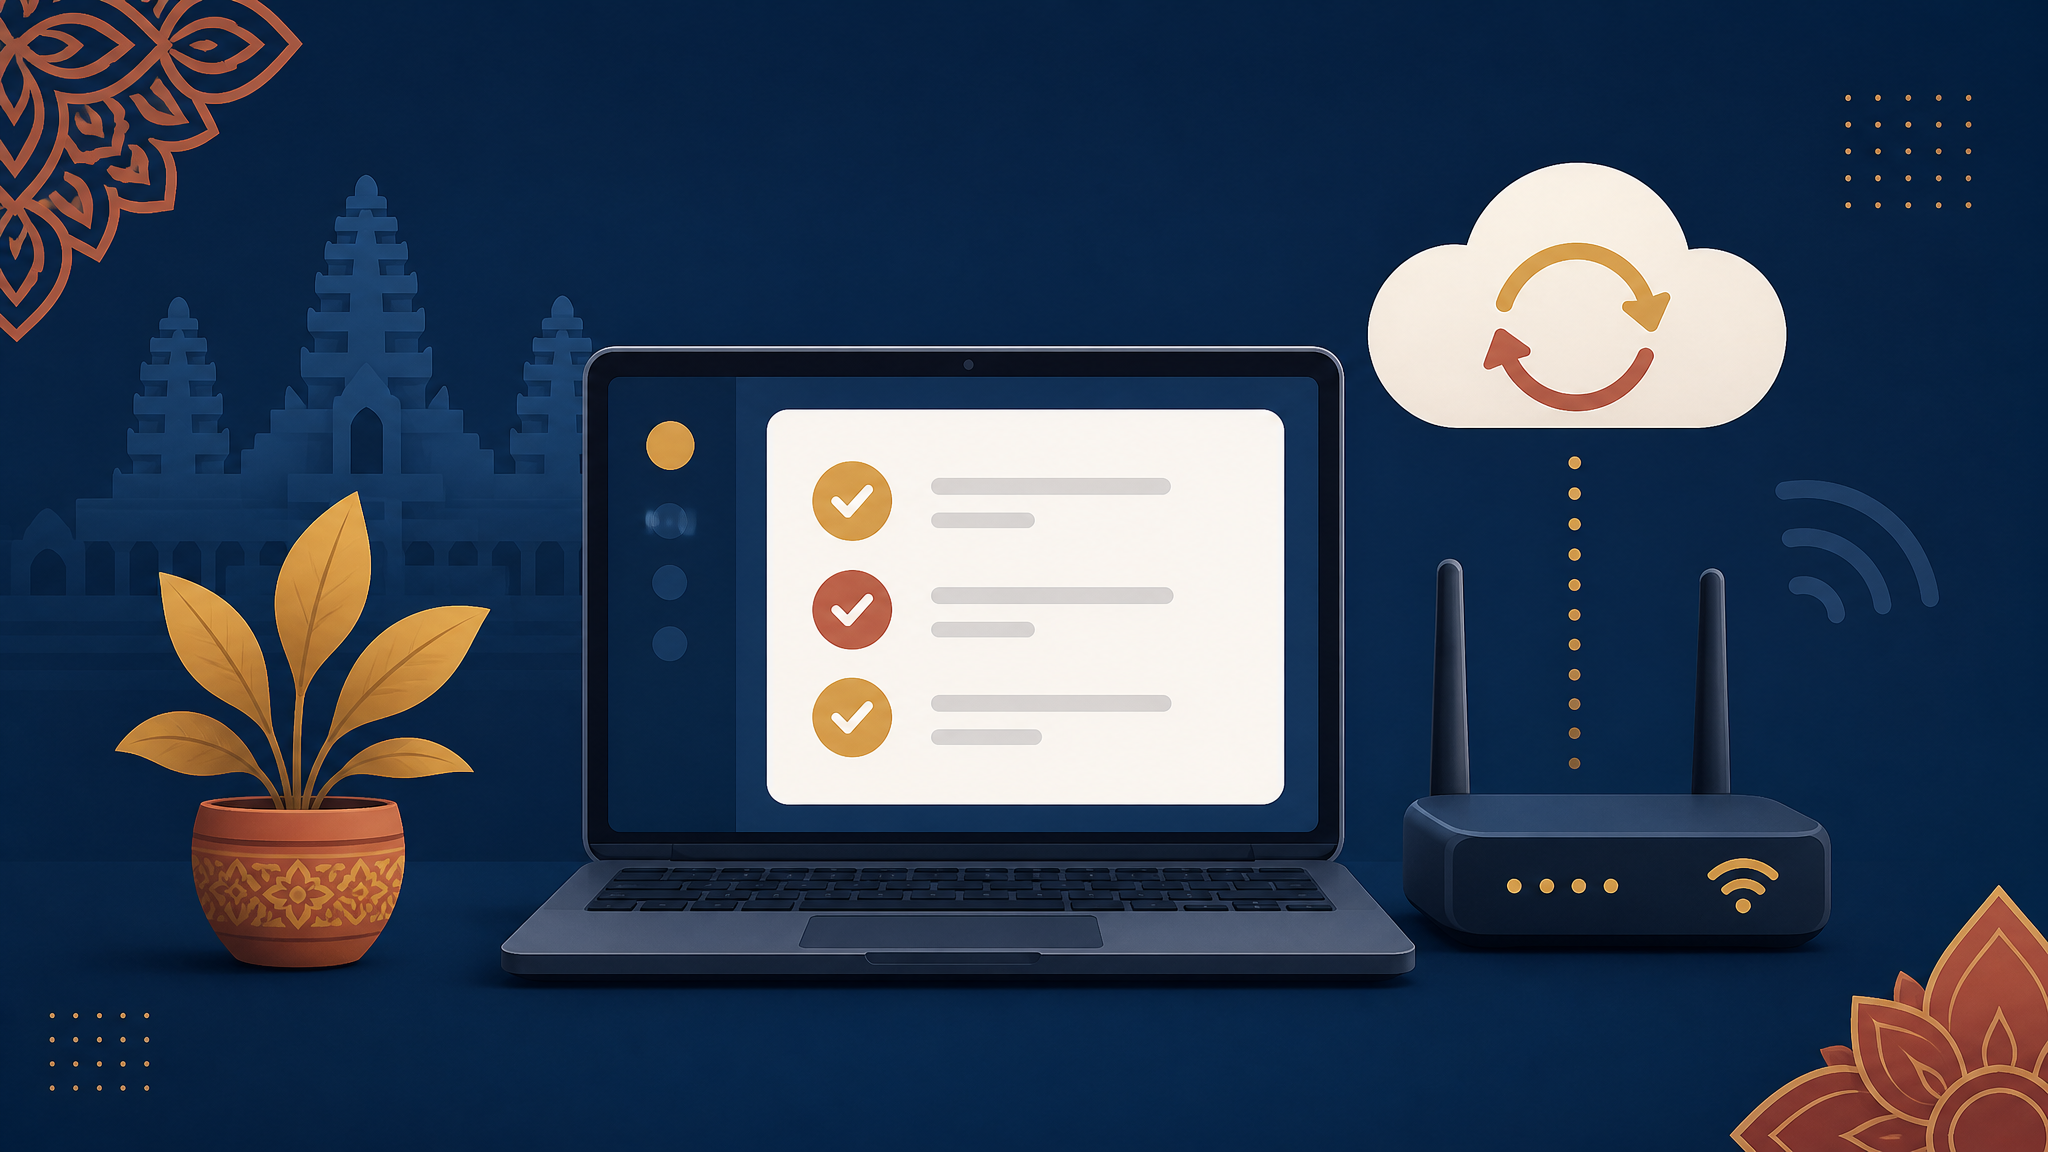
The simple backup rule: 3-2-1
A reliable backup habit follows the 3-2-1 rule:
- Keep 3 copies of important files
- Store them on 2 different types of storage
- Keep 1 copy somewhere separate from your main device
Example:
- Copy 1: your laptop
- Copy 2: an external drive
- Copy 3: cloud storage like Google Drive, iCloud, OneDrive, or Dropbox
If your laptop fails, you still have the drive and cloud copy. If the drive is lost, the cloud copy still exists.
Step 1: Put important files in one main folder
Before choosing backup tools, organize your files.
Create a folder like:
Important Files
├── Photos
├── Documents
├── Work
├── School
└── IDs and Records
This makes backup easier because you know exactly what needs protection.
Step 2: Turn on cloud sync
Cloud storage is the easiest backup for beginners.
Good options include:
- Google Drive
- iCloud Drive
- Microsoft OneDrive
- Dropbox
Install the app, sign in, and move your important folder into the synced location. After that, files should upload automatically when you are online.
Quick check
After adding a file, open the cloud website in a browser and confirm the file appears there. Do not assume sync is working until you check once.
Step 3: Use an external drive once a week
Cloud backup is helpful, but an external drive gives you another copy you control.
Use a USB drive or external SSD. Once a week:
- Plug in the drive
- Copy your important folder
- Safely eject the drive
- Store it somewhere safe
Do not leave the drive plugged in all the time. If malware, power problems, or accidental deletion happens, a disconnected drive is safer.
Step 4: Back up your phone photos
Phones often hold the most valuable files.
For iPhone:
- Turn on iCloud Photos, or
- Use Google Photos
For Android:
- Use Google Photos, or
- Sync photos to Google Drive/OneDrive
Then confirm photos appear on the cloud website. Again, checking matters.
Step 5: Test your backup
A backup is only useful if you can restore it.
Once a month, test this:
- Pick one file from your backup
- Download or copy it back to your computer
- Open it
- Confirm it works
This takes one minute and can save you from discovering too late that your backup was broken.
Common backup mistakes
Avoid these:
- Keeping backups only on the same laptop
- Leaving the external drive always plugged in
- Assuming cloud sync is working without checking
- Backing up photos but forgetting documents
- Using only one copy of important files
- Forgetting password recovery codes
A simple setup I recommend
For most beginners, this is enough:
- Google Drive or iCloud for automatic daily sync
- One external SSD copied weekly
- Phone photo backup turned on
- Monthly restore test
You can make it more advanced later, but this setup already protects you from the most common disasters.
Final checklist
Before you finish, make sure you have:
- [ ] One folder for important files
- [ ] Cloud sync turned on
- [ ] External drive backup created
- [ ] Phone photos backed up
- [ ] One file restored successfully as a test
Backups are not exciting, but losing your files is worse. Set up the basics now and future-you will be grateful.